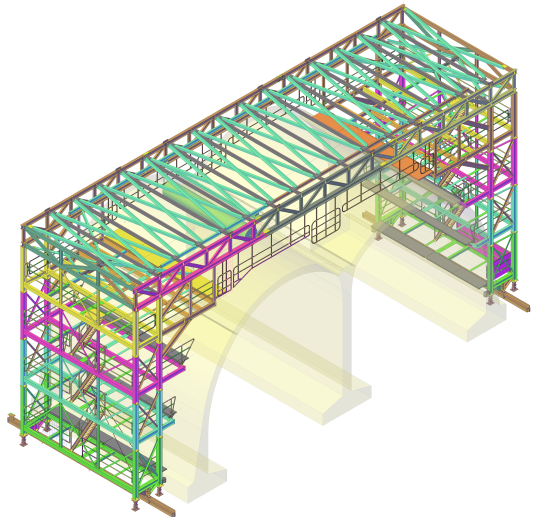
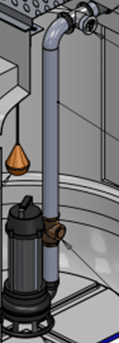
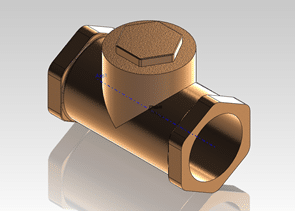
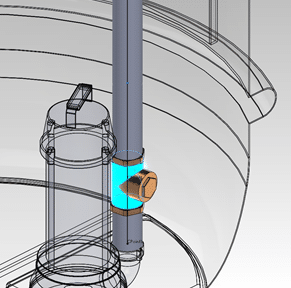
Here we walk you through creating a custom part and adding it into an existing pipework, as show above. This is where CAD Design aids you in reducing time in the design phase of development.
1. Begin by creating your part as usual
2. Add ‘C’ points (connectors) to the ends of the part that will correspond to its place in the pipework
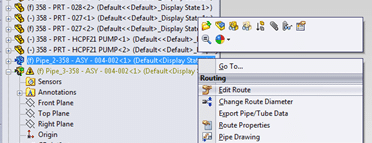
3. Open the assembly containing the pipework and edit the route by engaging the command as shown in the solidworks feature tree below.
4. At this point, add a component to the assembly and drag the part anywhere close to the pipe route sketch and the part will automatically align itself within the route. The alignment can be adjusted using the routing options available for the component.
Additional pipe components help add realism to an overall pipe assembly but many are unaware of just how simple it can be to add custom parts within the assembly. All of the additional components can be shown in the technical design drawings once completed.

